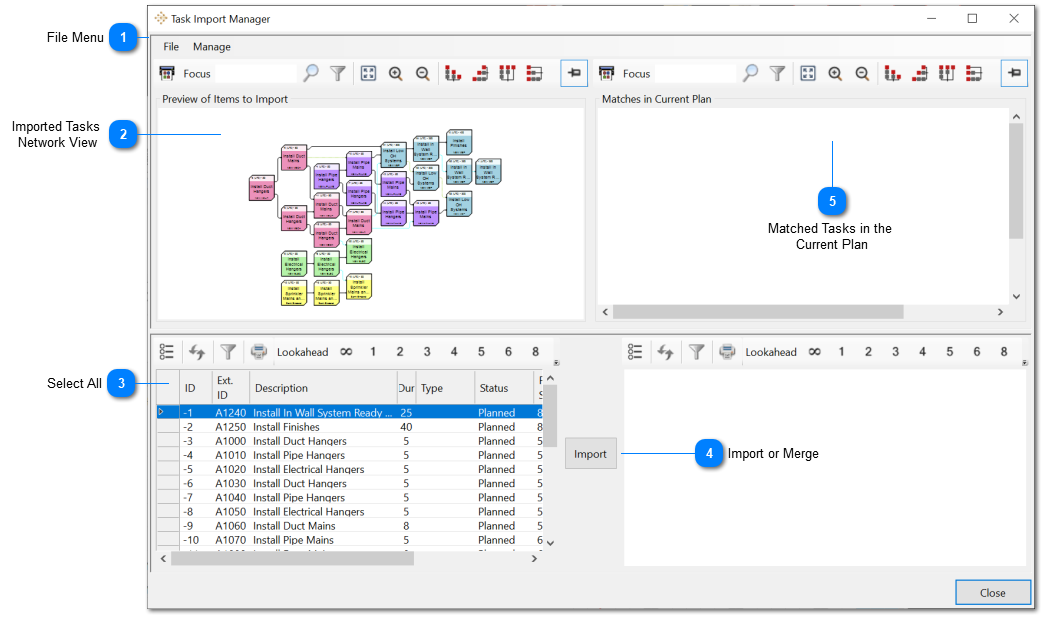
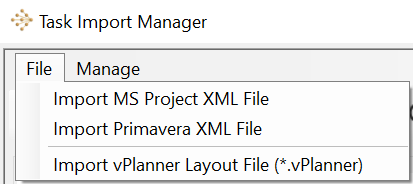
Select from the File menu the XML file format you wish to import. vPlanner will verify that the selected file is a valid file for the import type. vPlanner will then read the XML file contents into memory and will display the results in the Imported Tasks Window and associated list view. Those tasks are not yet added to the plan. You can edit those tasks using the task editor prior to importing them into vPlanner or edit them later after the import is complete.
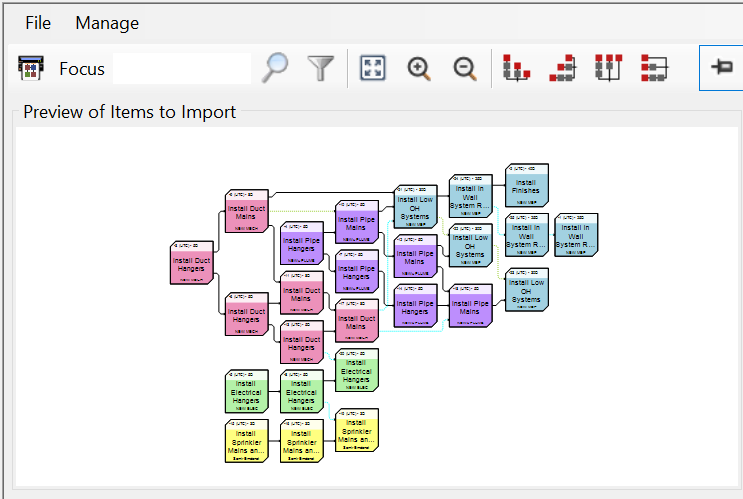
This area will display a temporary network view of the activities to be imported. You can use this view to examine the structure of the tasks and their attributes.
When you click the Import button, vPlanner will attempt to match the external IDs of the selected tasks to the tasks in the current project. If matches are found they will be displayed in this network view. You can then continue with the import or cancel to review those tasks. If you do not wish to override one of those tasks, you must clear its external ID before attempting the import again. Follow the steps in the import dialog to select how the match results will be handled.