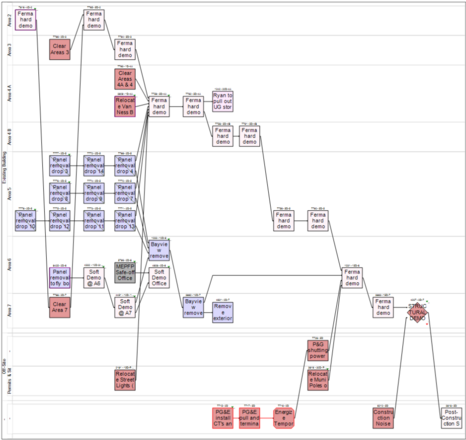
The Swimlane Composer provides a flexible way for arranging tasks into Swimlanes based on task attributes. It can be used to produce nested swimlane layouts up to 5 levels deep.
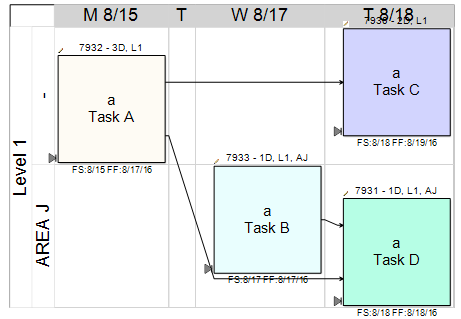
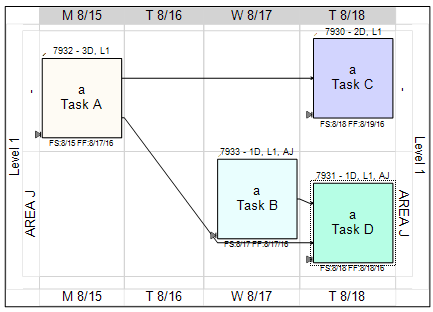
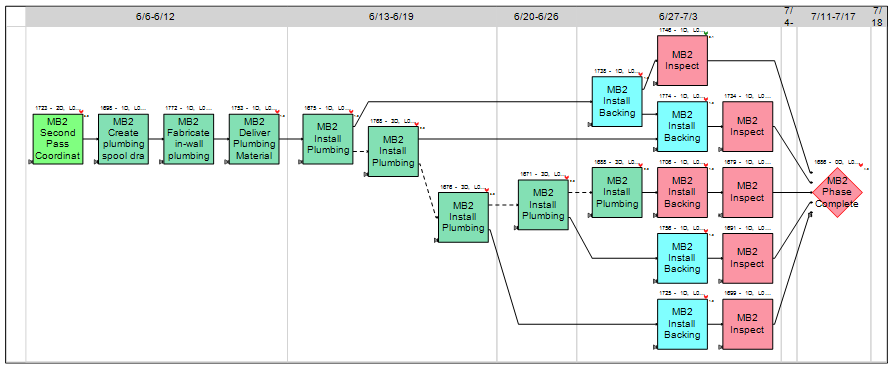
Example of a Swimlane Layout
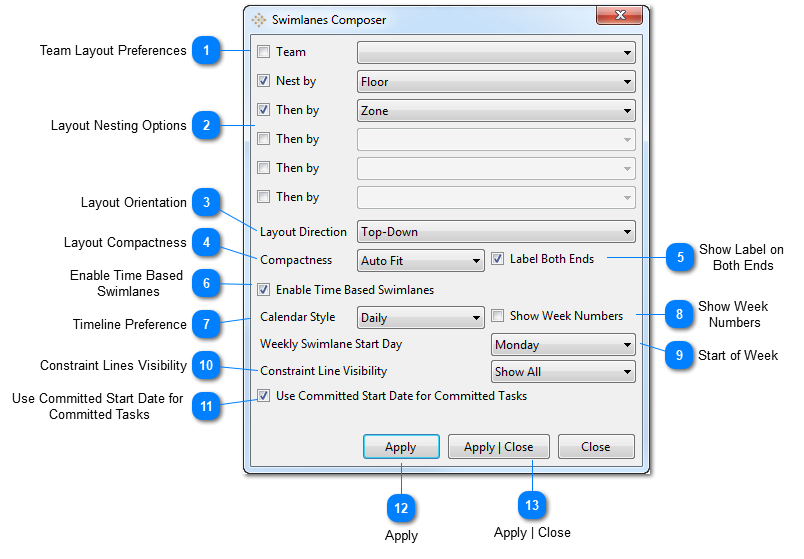
The Swimlanes Composer Dialog
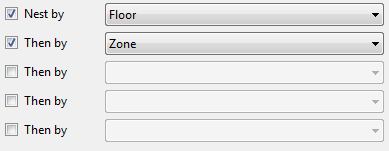
Team Layout Preferences
You can define a swimlane style for each Team using the Teams Attribute Editor. The team drop down allows you to select the teams to configure the preferred Swimlanes layout options. See Teams for more details on how to setup a Swimlane Layout Preference for a Team. Configuring the default layout preference for a team is important to simplify the options for end users.
Use this setting to configure the spacing within the swimlanes to minimize white space.
Auto Fit: Will configure the layout to reduce conflict between task graphics and swimlane graphics. The minimum swimlane height and width will match the task size.
Compact Height: Will eliminate the vertical spacing in the swimlane layout. Task Top and Bottom Labels will overlap the swimlanes. The minimum swimlane width will match the task Width.
Compact Width: This layout will eliminate the horizontal spacing between the swimlanes. Task side labels will overlap the swimlanes. The minimum swimlane height will match the task Height.
Compact: This layout will eliminate the vertical and horizontal spacing between the swimlanes.
The Swimlanes Composer includes an option to produce time-based swimlane layouts that use the task's forecast start date as the layout criteria. Daily, Weekly, and Biweekly time-based Swimlanes can be produced. Regardless of which swimlane layout command is used to generate the layout, vPlanner will remember the last used layout and will reapply it from the Groups/Apply last layout command. When time-based option is enabled, vPlanner will calculate the plan dates and if there are unsaved changes to the plan, it will ask the user to Synchronize with the server or calculate the dates without synchronizing with the server.
You can specify any day as the start day of the week so that you align the displayed dates with your planning cycle. So for example, if you meet and plan the work on Tuesdays select Tuesday for your start of week option. Your weeks will be Tuesday to Tuesday.
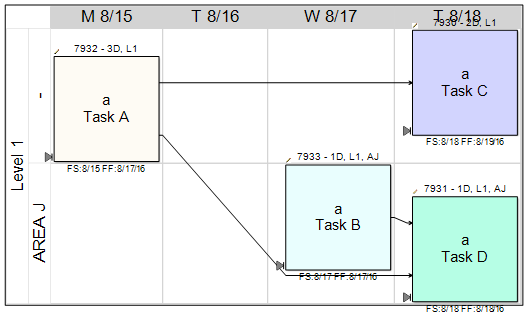
This option sets your preference for how to display constraint lines that cross the swimlane cells. You can hide all lines except those that connect the tasks inside a cell, hide the lines that cross the swimlanes, or show all lines. Hiding some the lines will provide a cleaner looking swimlane layout on very complex plans.
This option applies for Committed activities. If enabled, the committed start date will be used when tasks are arranged on the swimlane instead of the forecast start date.