Creating a New Project
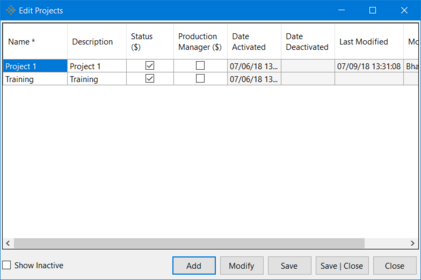
When you first receive your credentials to access vPlanner for the first time, your Site will be configured with one default project named (Project 1) and one Training project.
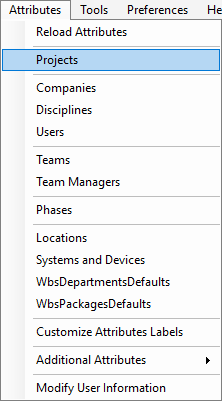
To modify the default project or to create a New Project, go to the "Attributes" menu and click on the Projects option to open the Edit Projects window.


Making a Project Active or InActive
By default, vPlanner will show only the active projects. Click the Show Inactive check box at the bottom of the dialog to show any inactive projects. To toggle a project from active to inactive, click the Modify button or check the box under the "Status" columns.
Modifying a Project
To modify a project select it first, then click the Modify button.
Adding a Project
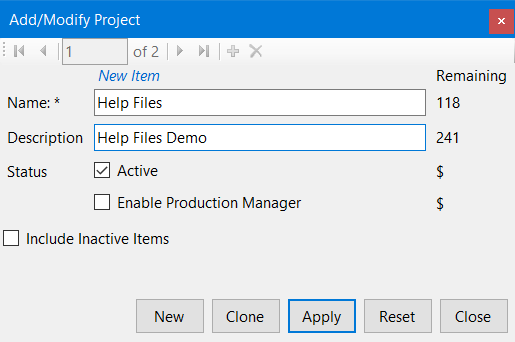
Click Add to add or create a new project. Choose an appropriate name and description for the project. Click Apply and then click Save in the Edit Projects window to create this new project.

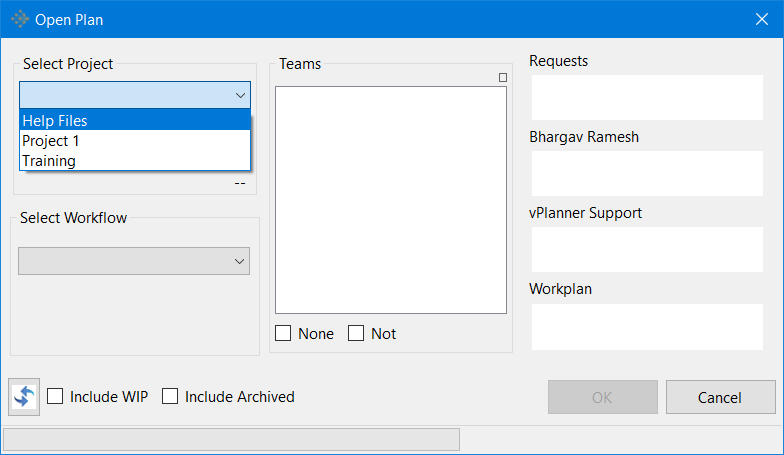
Now when you try to open projects/plan (File - Open - Open Plan), you'll see "Project 1" appear on the list of projects on the selected site in vPlanner.

Once a project is created you should assign it a default calendar. Additionally you add users to the project and assign their access permissions.
