Adding Users to Projects
A project has many users. It becomes necessary for the site administrator to add all the users of a project to it when he/she creates a new project. There are several ways of adding users to projects and we shall discuss them one by one.
Adding n Pre Existing User
Go to the Attributes menu in vPlanner and click on the "Users" option. This brings up the "Manage Project Users" dialog.
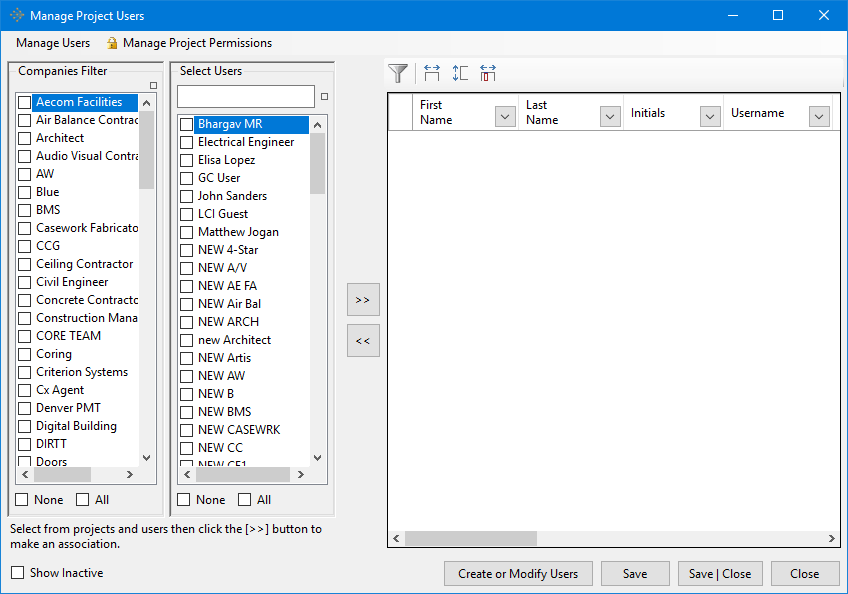
Manage Project Users Dialog
Notice that the box on the extreme left is empty when you start a new project, while the Companies Filter and Select Users boxes are completely populated with unchecked items.
Now, to populate the project created with users, simply select/check one or more companies from the "Companies Filter" list. As soon as you do this, ONLY the members/users under those respective companies start to appear under the "Select User" list. This is a means to filter out employees or users of those companies that the user is not interested in for this particular project. Once that is done, the user can start selecting users from the Select Users list (one/multiple/ all users can be selected). After the user selects all the required or appropriate users for the project, he/she can click on the >> button to populate the box to the right with all the users associated with the current project as per the user's selection as shown below.

To remove one or more users from the project, the user has to just select the user/users and click on the << button to remove them from the project.
Adding New Users
Go to the Attributes menu in vPlanner and click on the "Users" option. This brings up the "Manage Project Users" dialog. Now click on "Create or Modify Users" in the "Manage Project Users" dialog or "Create or Modify Users" option under the "Manage Users" menu on the same "Manage Project Users" dialog. This brings up the Users Editor dialog.
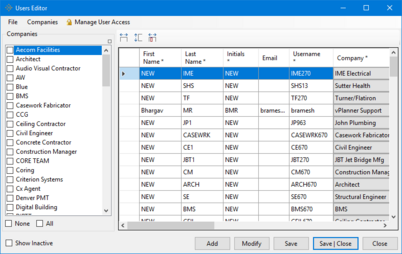
Now click on the Add button. This brings up the Add or Modify User dialog as shown below.
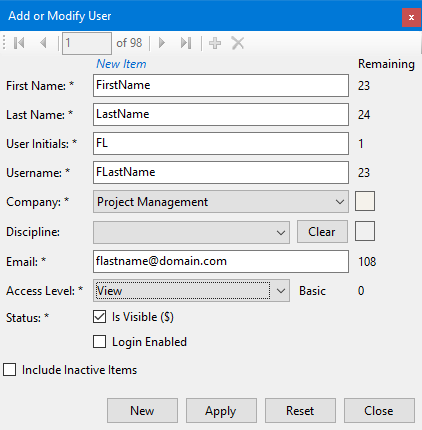
Populate the dialog with the first name, last name, initials, username, company name, email ID and access level permission details as illustrated above and click Apply to save the changes, and add a user. Now, going back to the Manage Project Users dialog will show the new user "FLastName" under the company "Project Management" and can be selected to be added to the list of users for our current project as shown below.
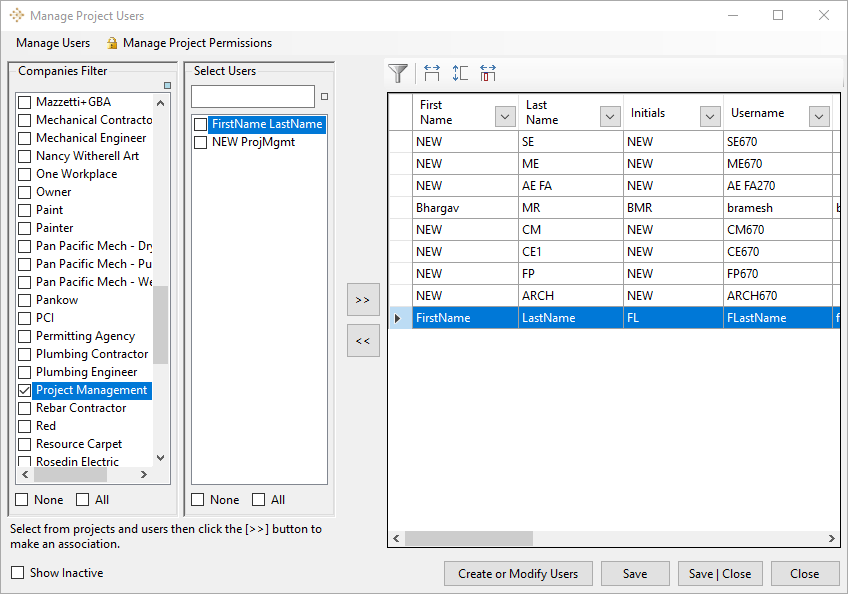
Add users from current project's tasks
This tool ensures that the members assigned to the current project are added to the project automatically. This tool is available to upgrade existing projects from company based access to user based access. To add users from the current project's tasks, open the "Manage Project Options" dialog and click on the "Manage Users" menu. Now click on the "Add Users from Current Project's Tasks" option.
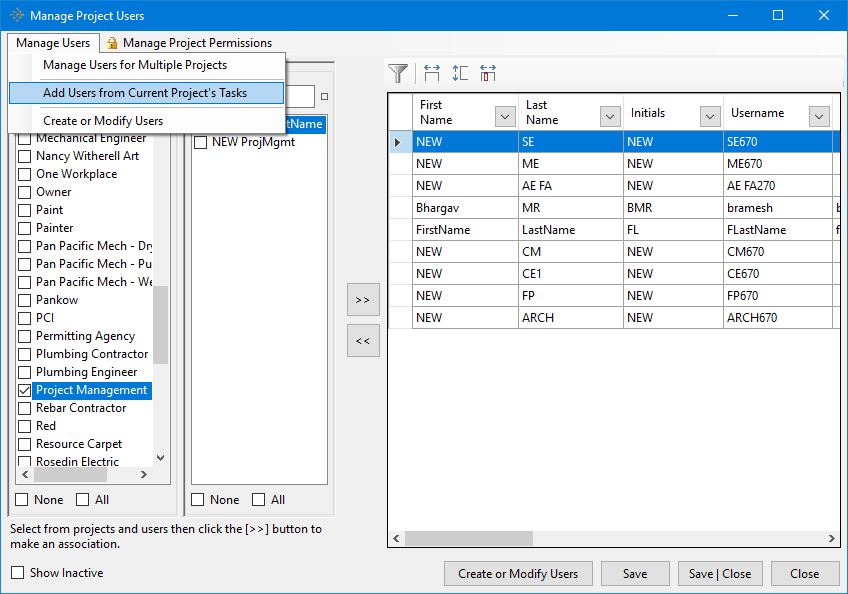
This will bring up an Alert stating "No items were found" if the New Project does not have any activities with assigned users in it. If the project has activities with pre-assigned members, then it will bring up a list of all those members who can then be added as users to the project on vPlanner.
