vPlanner.Pull offers a virtual white board for real-time collaboration during the creation of the pull plans. Users can work from any location and share a virtual whiteboard to sequence their work in realtime. Results of those pull plans can then published and managed using vPlanner.Manage. You can install vPlanner.Pull from the link provided in the invite email, or from the vPlanner.Manage help menu.
Interactive Training
For an interactive overview of how to use vPlanner.Pull, please reference the online webinar recording below:
vPlanner.Pull Reference
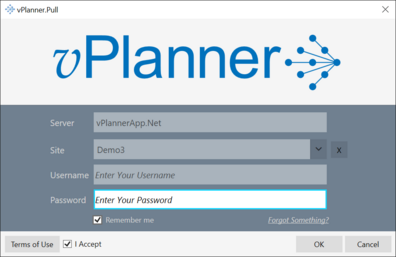
vPlanner.Pull Login Screen
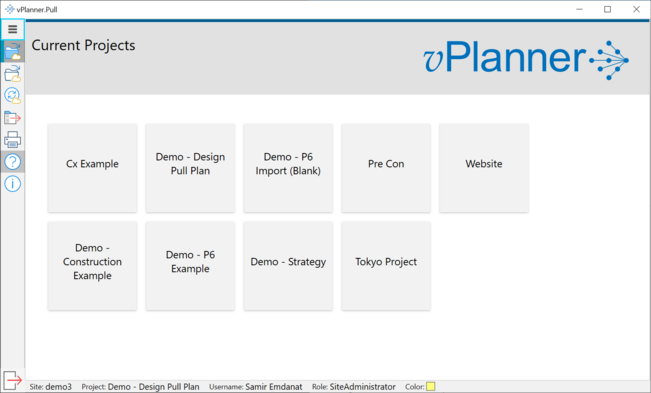
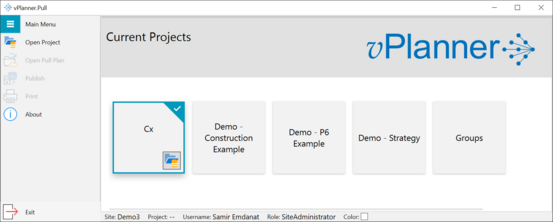
If login is successful, you should see the Current Projects tile screen. Note if you see no projects here, ask you site administrator to add you to a project. To Open a project, select it, then click the Folder icon.
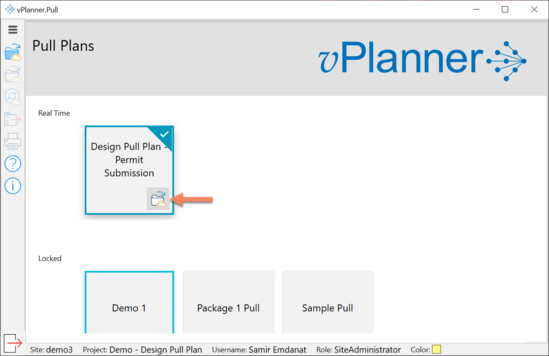
Once you open a project, you should see the available pull plan tiles. If you see no Pull Plan tiles, then ask your site administrator (Premium User) to create them. If a tile shows "Realtime" then it is available for realtime collaboration. Otherwise it is either read only or archived.
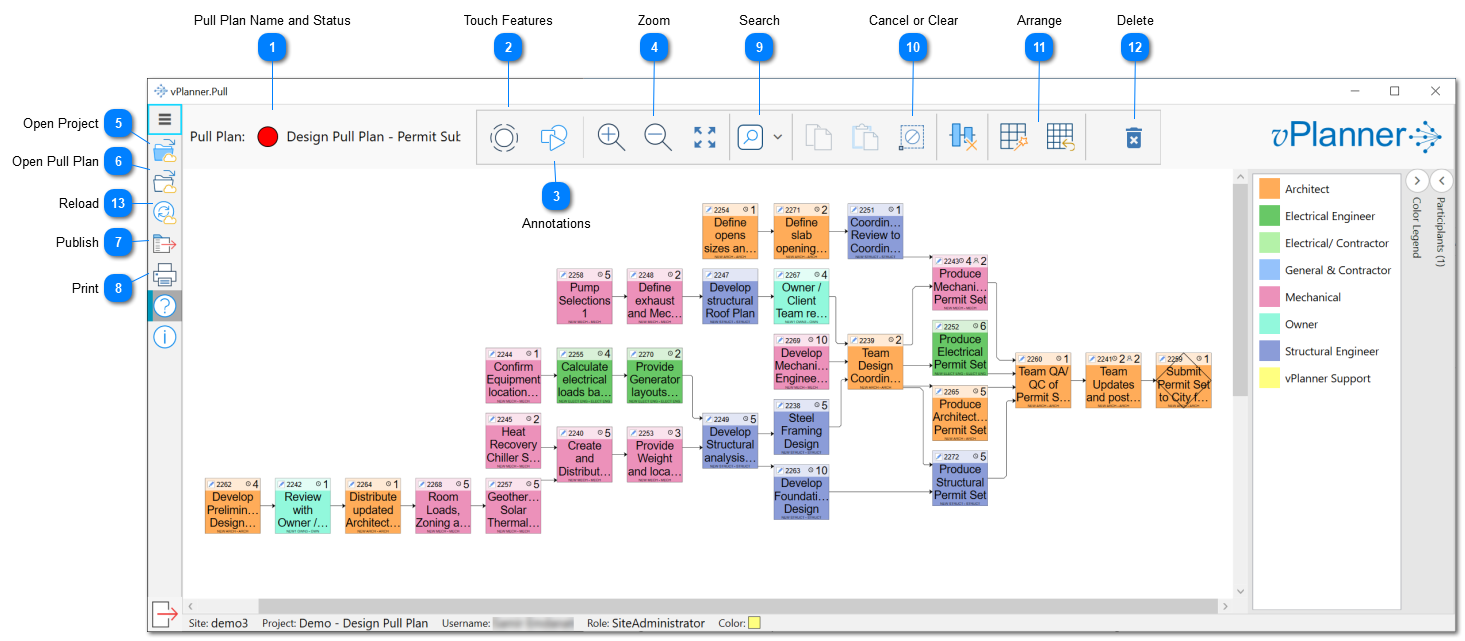
 Pull Plan Name and StatusThis area displays the name of the pull plan and its status (if Realtime, then you can work in realtime with others, otherwise, it is read-only).
|
|
 Touch FeaturesClick this button to enable the touch display features. It is easier to work with touch screens if the Pan, Zoom, Task Edit, and Link Edit functions are separated. Keep this off you are using a mouse and keyboard.
|
|
 AnnotationsPremium users can use this tool to create annotation graphics to make the boards easier to use for users.
|
|
 ZoomZoom out, in, and Zoom all. You can also scroll the mouse or use the standard touch gestures. To pan, push and drag the mouse with the middle button pressed or hold the CNRL key and drag the mouse with the left button pressed. Using touch, plan is done by draging with multiple fingers.
|
|
 Open ProjectOpens the project tile list. To open a project, click the blue folder icon shown on the selected project tile. On a touch display, touch and hold the icon for a few seconds to open the project.
|
|
 Open Pull PlanShow the pull plan tile list. To open a pull plan, click the blue folder icon shown on the selected pull plan tile. On a touch display, touch and hold the icon for a few seconds to open the pull plan.
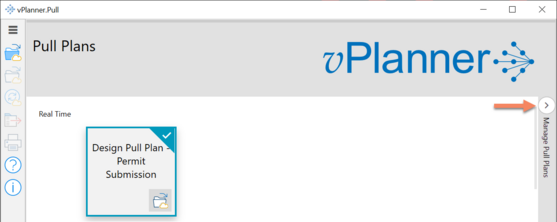
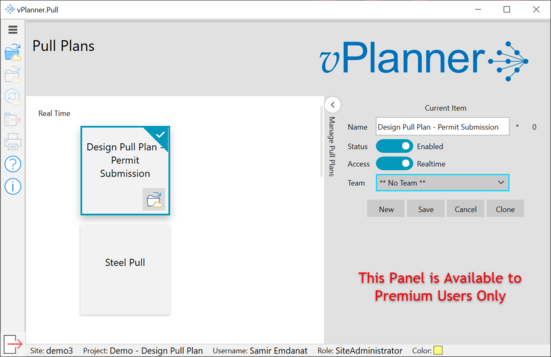
Premium Users can create and manage pull plan tiles using the panel on the right (not visible for users). Setting the Team pull down for a pull plan associates the pull plan tasks with that team and allows a Team Manager level user to edit any task on the pull plan not just those assigned to the user's company. When published the tasks will be tagged to the same Team in vPlanner.Manage.
|
|
 PublishPremium users can publish a pull plan to vPlanner.Manage. Publishing a pull plan will perform a synchronize with the managed version. Changes to previously published tasks will be updated.
|
|
 PrintOpen the print preview dialog.
|
|
 SearchOpens the search panel, you can search by text or by task number. You can select or focus on the result.
|
|
 Cancel or ClearUse this tool to clear a selection or cancel a constraint (link action) action.
|
|
 ArrangeAuto Layout tools. Select a number of tasks and click Auto Layout. To undo a layout click the Undo Button. You can only undo the layouts you generate. Changes are live, so communicate your intent to users before you do this in a live session.
|
|
 DeleteDeletes a selected item or items.
|
|
 ReloadIf for network reasons your session becomes out of synch with the server, click reload to get back in synch.
|
|
