2. Installing vPlanner
To access vPlanner, you need to be invited to join the system. You will receive a link from your vPlanner site administrator that includes a URL to install the Desktop versions of vPlanner (vPlanner.Manage and vPlanner.Pull). This will typically be the following URL unless your company is self hosting vPlanner in that case follow specific instructions from your IT group.
-
vPlanner.Pull: Https://www.vplannerapp.com/app/pull/publish.htm
-
vPlanner.Manage: Https://www.vplannerapp.com/app/publish.htm
-
vPlanner.Mobile is an HTML5 based web client and does not require an installation step. It can be accessed here: https://vplannerapp.com
System Requirements
vPlanner.Manage and vPlanner.Pull are Windows ClickOnce applications. In most cases, you do not need to have administrator access on your computer in order to install either module. You should be able to click on the provided installation link and install the vPlanner applications on your version of Windows.
vPlanner requires Microsoft .Net 4.8 as a minimum in order for it to install and work properly. This is a standard Windows operating system component and is typically installed on Windows 7, 8, and 10. If you do not have this component installed or if it is installed improperly or if it is corrupt, you may get errors during the installation or during the upgrade of vPlanner. In this case, you will need to contact your IT system administrator to properly install the required .Net components before installing vPlanner.
vPlanner Email Account: vPlanner will need to send you emails regarding your account and the workplan tasks. Those emails will always be from support@vplannerapp.com. Please make sure your IT puts this email on their email white list so that you can receive those important emails.
Firewall or Group Policy Restrictions: While rare, if your company IT restricts your ability to install ClickOnce applications under Windows through group policy or otherwise, those restrictions must be removed (via exception rules) in order for vPlanner to install and function properly and to check for automatic updates.
RAM / Processor: For projects with less than 4000 active tasks, 4 GB of RAM should be sufficient. More memory may be required on larger projects for better performance. 8 GB or more is recommended. Intel dual core i7 or a faster processor is recommended.
Network Requirements
Since vPlanner is a cloud based application, you must have a reliable network connection in order to start and use the system. If you receive network related error messages or experience a timeout error while using vPlanner, it is recommended that you switch to a more reliable network before continuing to use the system to minimize the chances of loss of work.
TCP Ports 80 and 443 are required for vPlanner to communicate with the server. If those ports are blocked by your company firewall, they must be enabled for vPlanner in order for it to work properly. Additionally, some companies restrict online usage via Proxy servers. Those servers may block vPlanner communications with the server. Special configuration by your network groups may be required to allow vPlanner access to the network.
Installing vPlanner.Manage or vPlanner.Pull
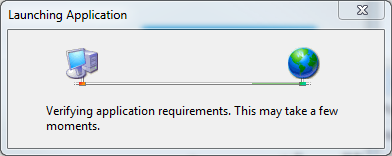
To install vPlanner, click on the link for the installation path. If all System Requirements and Network Requirements are met, you will see the dialog below, then the vPlanner installer will start downloading the application files.

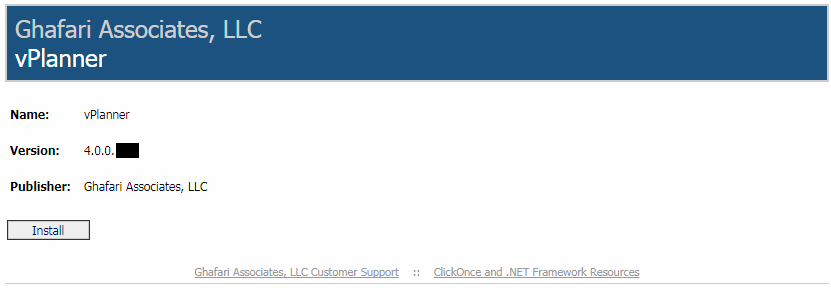
The vPlanner Download/Installation Page

Once the installation is complete, you should see the login screen for the appropriate version of vPlanner.
Automatic Updates
The vPlanner app will always check to see if there are updates to the application prior to starting. If there is a more up-to-date version of the application on the server, it will update itself first and then it will start. This ensures that you are always working with the most up-to-date version of the application. There are two type of updates. Required updates will run automatically when you start vPlanner. If the update is Optional, you will see a message to update now or later.
