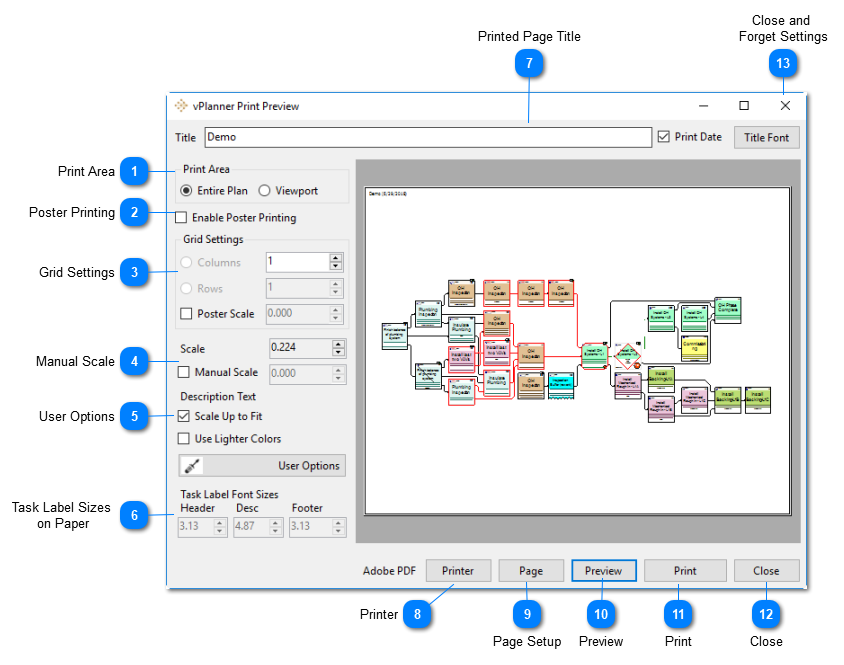
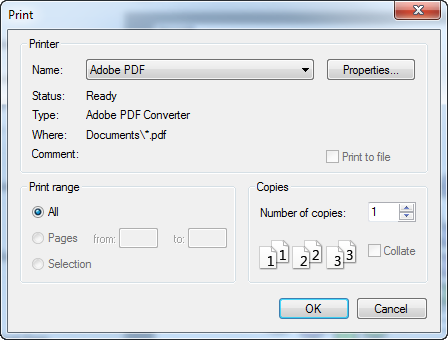
The print dialog provides various options for printing plans including printing on a single page, scaling the plan on multiple pages, or printing on a custom page size (e.g. on a Roll sheet). The default settings will allow for printing on a single page on the default printer. The main features of the print dialog are illustrated below followed by a detailed overview of each of those features.
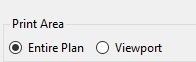
Print Area
Select what to print in the network view.
Entire Plan: prints all the visible tasks in the network view.
Viewport: prints only the visible tasks in the viewport portion of the network view.
These settings are enabled when poster printing is enabled. They allow you to control the number of pages that vPlanner will use to size the poster print. vPlanner will automatically resize the plan to fit the specified number of rows and columns, and determines the number of rows or columns required to fit the plan in the other direction. You may use the Poster Scale value to resize the plan to fit more sheets or less sheets.
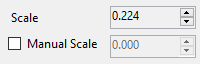
Use this option to set a desired scale factor for the final print. vPlanner will use this scale factor to calculate the number of rows and columns required to fit the plan.
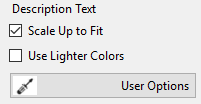
You can access the User Options settings from here either directly or via the User Options dialog. Scale Up to Fit will enable the automatic scaling of the label text to fit the task box if there is available space.
The Use Lighter colors option will temporarily lighten the colors of all tasks proportionally. This will force the printing of black text on lighter background colors regardless of how the actual task colors are assigned.
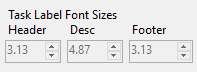
This area is read only. It displays the actual text sizes for the task labels on the printed paper in true type font. Check this area to verify that your print will be legible.
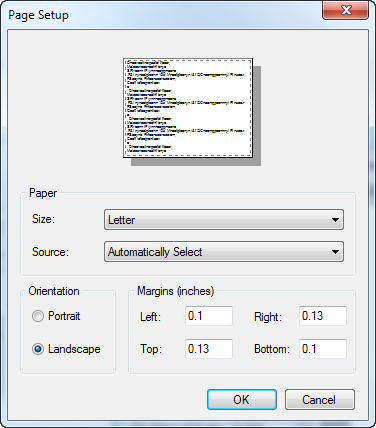
vPlanner will use any Custom Page size supported by your plotter. Create the desired roll sizes for continuous printing and select them from the Page Setup dialog.