Creating and Modifying Packages
To Create a Package:
-
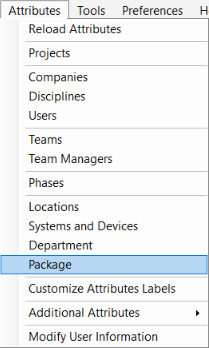
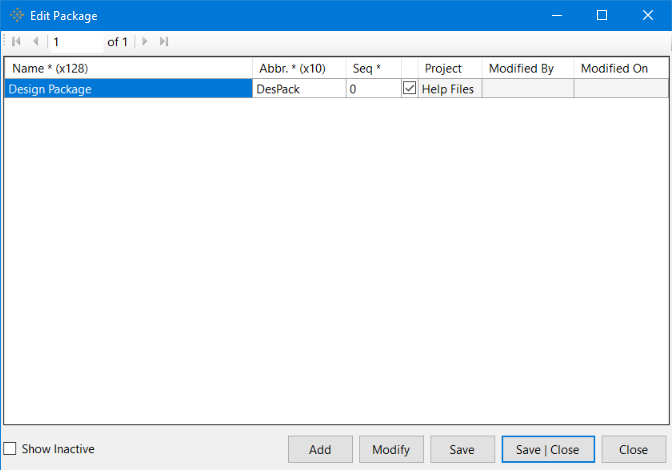
Go to the Attributes Menu in vPlanner and click on the Package option. This brings up the Edit Package dialog.
-
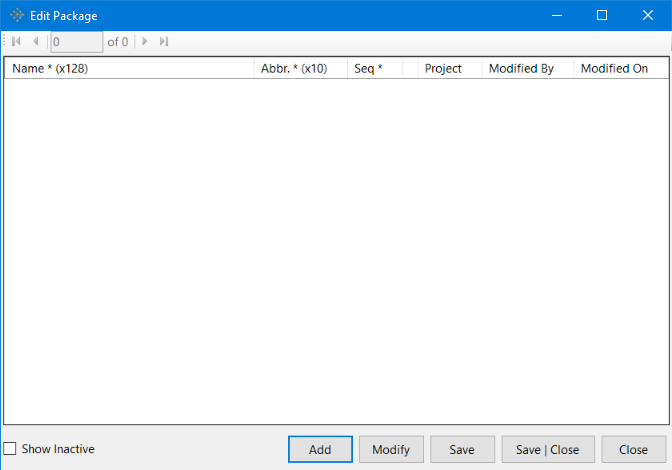
In the Edit Package dialog, click on the Add button to create a new Package. This brings up the Add/Modify Package dialog.
-
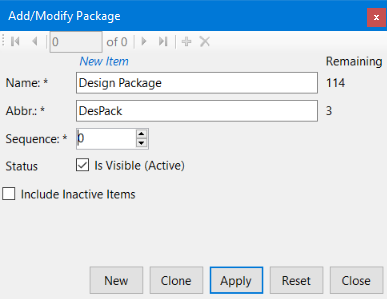
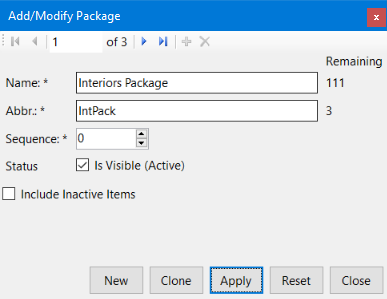
In the Add/Modify Package dialog, create a new department with appropriate name, abbreviation and sequence details. The user can also status the package as Active or Inactive to meet the needs of the project under consideration. Click Apply and Close the Add/Modify Package dialog to apply and save the changes made since this dialog was opened.
-
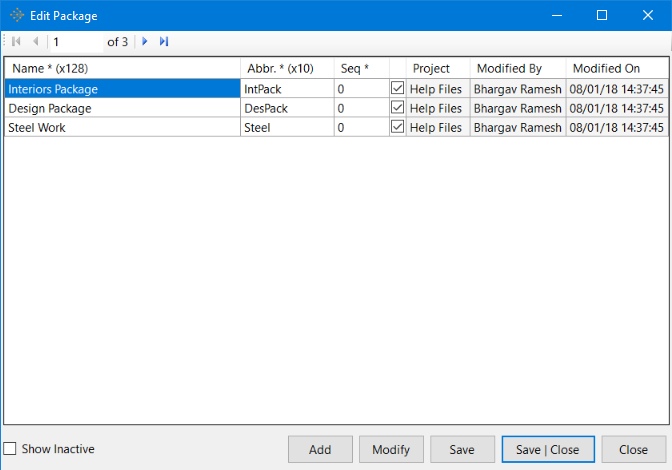
Click Save|Close button in the Edit Package dialog to Save all the changes made and close the Edit Package dialog.
 To Modify a Package:
 -
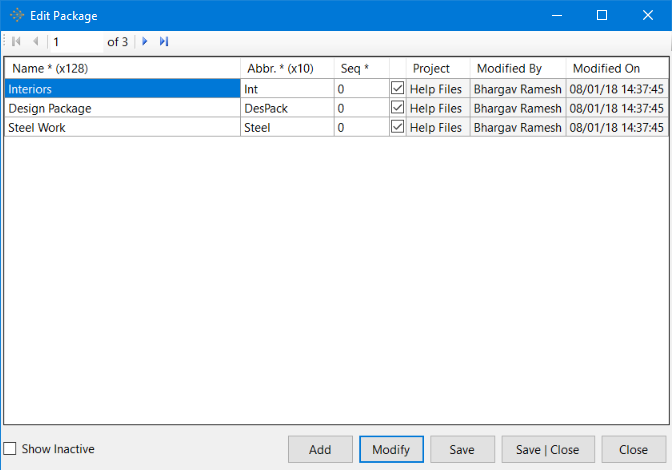
To modify a Package, select a package of your choice and click on the Modify button in the Edit Package dialog (For example, Interiors) as shown below. This brings up the Add/Modify Package dialog for Interiors.
-
In the Add/Modify dialog for Interiors, make the necessary edits as required by the project. (For example, change of name from Interiors to Interiors Package). One can also edit the status of the package. Click Apply to apply the edits. Close the Add/Modify Package dialog.
-
Click on Save|Close button to save all the changes made and close the Edit Package dialog.
