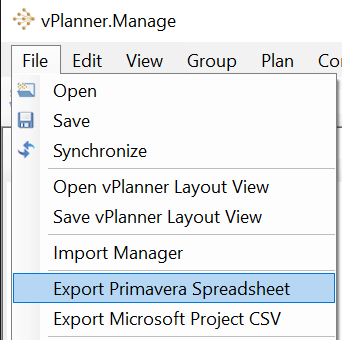
Open vPlanner and select a filter to display the tasks you wish to export. Select the File/Export to Primavera CSV option to display the export dialog. Identify a file name and path then select Export.
Note that P6 does not allow you to import date value for its calculated fields. You will need to map vPlanner date fields to P6 User Defined Date fields to display them in P6. Actual dates will update correctly. You can use Global edit in P6 to transform vPlanner Start or End dates to P6 dates once the import is completed.
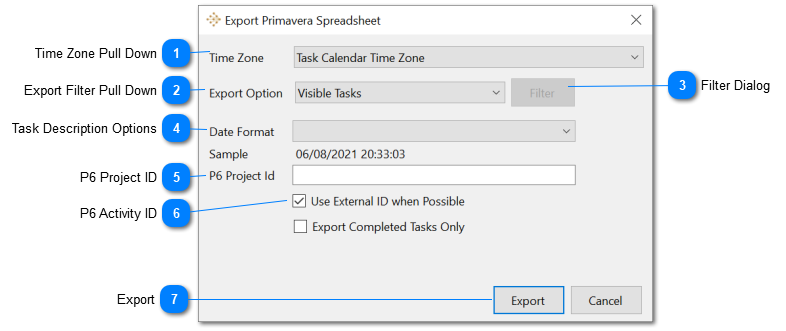
 Time Zone Pull DownSelect the time zone to use for the exported dates.
|
 Export Filter Pull DownYou can customize which tasks to export from vPlanner by selecting Visible Tasks, All Task, or Custom. The Filter button will be enabled when Custom is selected.
|
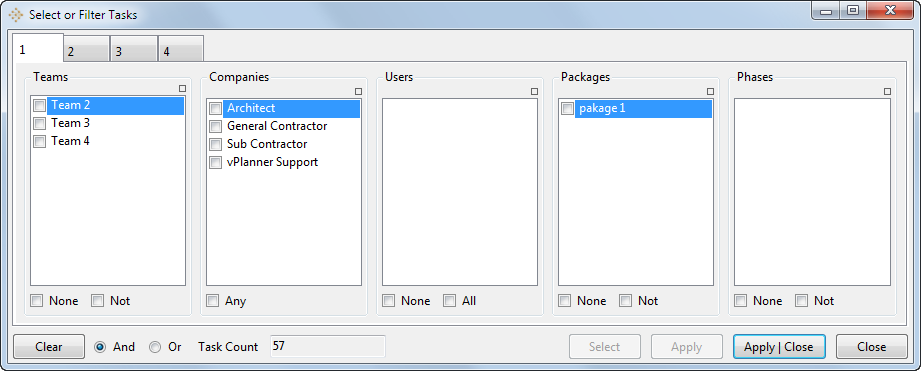
 Filter DialogWhen you click the Filter button. The filter dialog will appear to customize what can be exported based on task attributes.
|
 Task Description OptionsSelect the desired format for the date fields.
|
 P6 Project IDHere enter the desired P6 Project ID (value from P6). This is important if you had previous imported tasks from P6 and you want their WBS ID to be preserved when exporting. vPlanner will use the value you enter as a prefix for the generated WBS code. This way you can import information from vPlanner into a fragnet in P6 that you had produced from the original P6 schedule.
|
 P6 Activity IDIf this option is selected, vPlanner will replace the vPlanner Task IDs with the P6 IDs if available in vPlanner. This will ensure that actuals from vPlanner update the existing P6 activities. If this option is unchecked the vPlanner ID will be used as the task ID in the export.
|
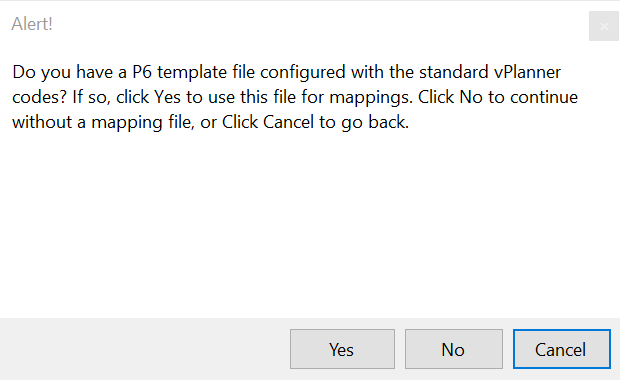
 ExportWhen you click the export button, vPlanner will ask for your P6 XLSX template file. This is a file you will produce form P6 and it would contain the P6 mappings for the Activity Codes and User Defined fields that you have configured in P6 for the mappings. If you had use the recommended naming convention above and in the Import section, the vPlanner will automatically use those mappings during the export.
Once the export is complete, open the file in Excel to preview the results before importing into P6.
|