Creating and Managing Locations
Locations is another attribute in vPlanner by which the activities in a complex project can be divided and organized. This organization helps in better planning and execution of the planned construction activities by their location.
Location can be Component, Elevation, Zone, Floor and Space as defined in vPlanner. The diagram below shows the relations between all the location attributes. The departments attributes can be optionally associated with Spaces. The user may choose to define all of the location types or a combination of two or more of the available location types shown below.


To create a Location in vPlanner:
-
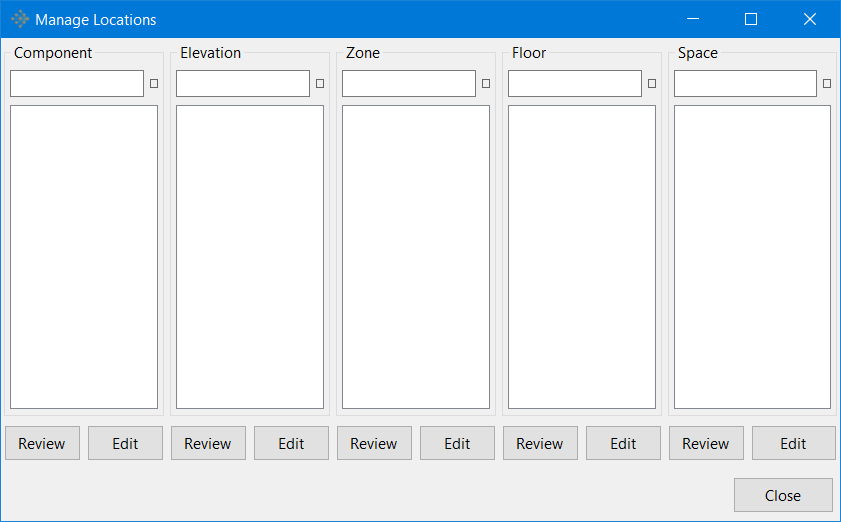
Go to the Attributes Menu in vPlanner and click on the Locations option. This brings up the Manage Locations dialog as shown above.

-
In the Manage Locations dialog, click on the Edit button under one of the 5 available location categories (for example, Edit button for the Component). This brings up the Add/Modify Component.

-
In the Add/Modify Component dialog, create a new Component Location with an appropriate name, abbreviation description and the sequence as shown below.

-
Click on Apply and Close buttons in that order to apply the changes made and close the Add/Modify dialog. Click on Close button in the Manage Locations dialog to Save all the changes made since the dialog was last opened and then close the dialog.

-
Click on the Edit button under any of the other Location types such as Elevation, Zone, Floor and Space, and follow the same procedure as above to create unique geographical locations under each of those types for organized division of a complex construction project.
