Changing Company Color
vPlanner associates every company with a user chosen unique color when it is created. However, these colors can be changed. To change the color associated with a company, follow the below procedure:
-
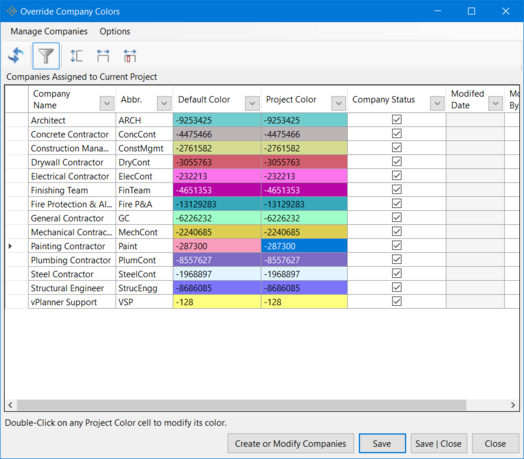
Go to the Attributes menu and click on the Companies option. This brings up the Override Company Colors dialog.

-
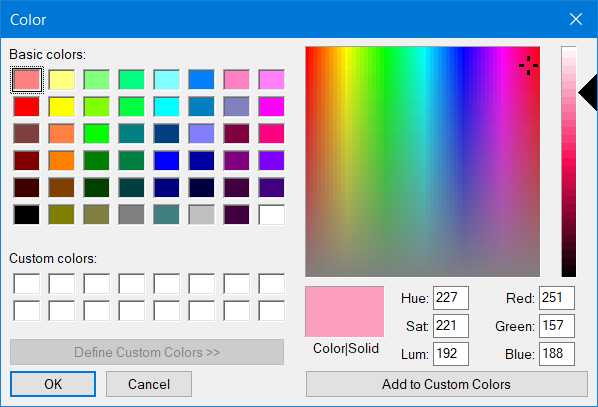
Now, pick a Company whose color you want to change for the opened project. Double click on the color code of that company under the Project Color column to bring up the Color dialog. Pick a color from this dialog to change the color of the selected Company from the Default Color to the chosen Project Color. Click OK to save changes.

-
Click Save | Close in the Override Company Colors dialog to save the changes made.
Resetting the Color of Selected Companies to Default Colors:
-
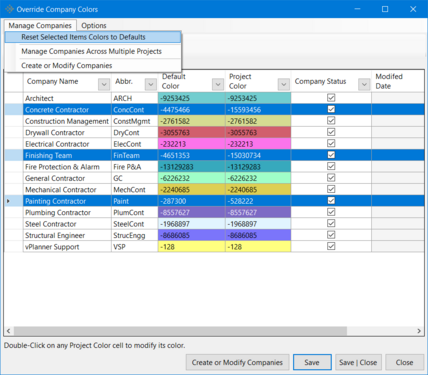
To do this, hold Ctrl on the keyboard and click & select all the companies whose colors you want reverted to the Default Colors. Then under the Manage Companies tab, click on the "Reset Selected Items Colors to Defaults" option. This changes all the selected Project Colors to Default Colors.

-
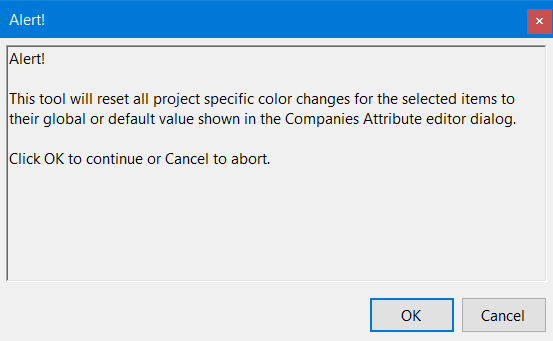
Clicking on the "Reset Selected Items Colors to Defaults" option brings up the alert that tells the user that this tool will rest all project specific color changes for the selected items to their global values. Click OK if you are sure, else Cancel.

-
Click Save | Close once the Default Colors have been restored as shown below in order to save the changes made and close the dialog.
